
Crafting footwear that truly reflects your personality has become more accessible than ever before. Whether you’re drawn to vibrant colourways, intricate patterns, or simply wish to own something entirely unique, the world of bespoke trainers offers endless possibilities. This creative journey allows you to transform ordinary shoes into wearable art, blending function with personal flair. With a bit of patience, the right materials, and a clear vision, you can step out in footwear that no one else on the planet owns.
Planning your bespoke footwear design
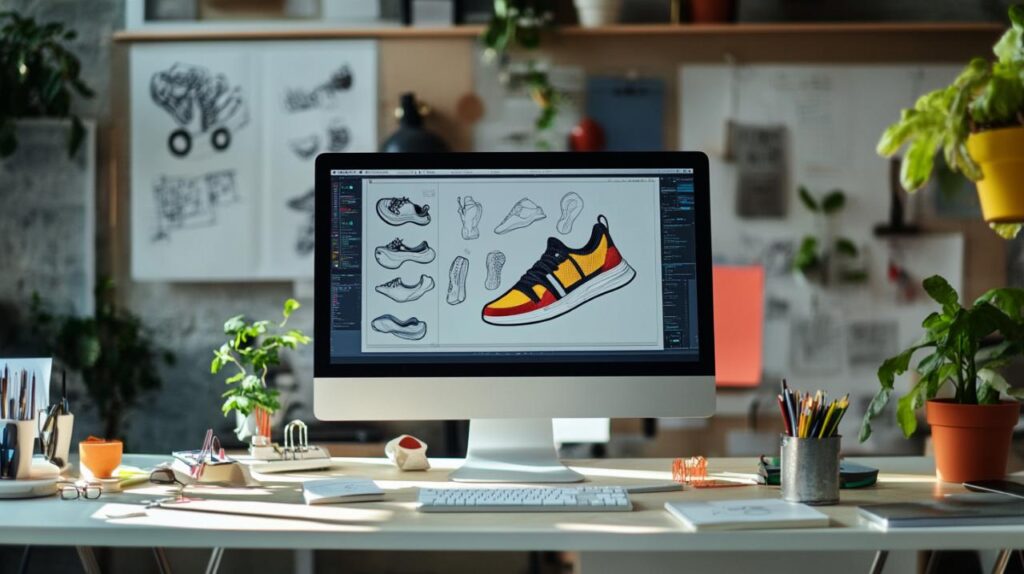
Selecting your shoe style and aesthetic vision
Before diving into the practicalities of materials and tools, it’s essential to settle on the foundation of your project: the shoe itself. Popular choices for customisation include trainers like Air Force 1s or classic Converse because they’ve got a big, smooth surface for adding designs. These styles provide ample space for creativity and are widely available, making them ideal canvases for both beginners and seasoned enthusiasts. Consider what you’ll be using the shoes for. Are they meant for casual wear, a statement piece for special occasions, or perhaps a gift for someone special? The intended purpose will guide your design choices, from colour intensity to embellishment placement.
Inspiration can strike from the most unexpected places. Fashion runways, natural landscapes, contemporary art, and even street culture can all serve as starting points. Spend time sketching your ideas on paper, experimenting with different combinations until something clicks. This stage is where you truly create your own personalized shoes tutorial, tailoring every detail to your taste. Don’t rush this phase; a well-thought-out design will make the execution process smoother and more enjoyable. Think about whether you want bold, eye-catching hues or subtle, understated tones. Will your design feature geometric patterns, freehand illustrations, or perhaps a mix of both? The beauty of bespoke footwear lies in the freedom to explore without boundaries.
Developing your colour palette and embellishments
Once you’ve settled on a style, the next step is to develop a cohesive colour palette. This is where your vision begins to take tangible form. Consider the mood you want to convey: vibrant neon shades for a playful vibe, metallic finishes for a touch of luxury, or even thermochromic paints that change with temperature for an interactive element. The choice of colours will significantly impact the overall aesthetic, so it’s worth experimenting with different combinations before committing. Many customisers find it helpful to create small test patches on scrap material to see how colours interact and how they look once dried.
Embellishments can elevate your design from good to extraordinary. These might include custom stencils, hand-painted motifs, or even textured elements like fabric overlays. However, it’s important to balance creativity with wearability. Overly complex designs or fragile decorations might not withstand daily use, so aim for a balance between visual impact and durability. Masking tape becomes an invaluable tool at this stage, allowing you to create clean lines and protect areas you don’t want painted. If you’re planning intricate patterns, consider using fine-line pencils or markers to sketch outlines directly onto the shoe surface before applying paint. This preparatory work ensures precision and reduces the risk of mistakes that could compromise the final result.
Bringing your custom trainers to life
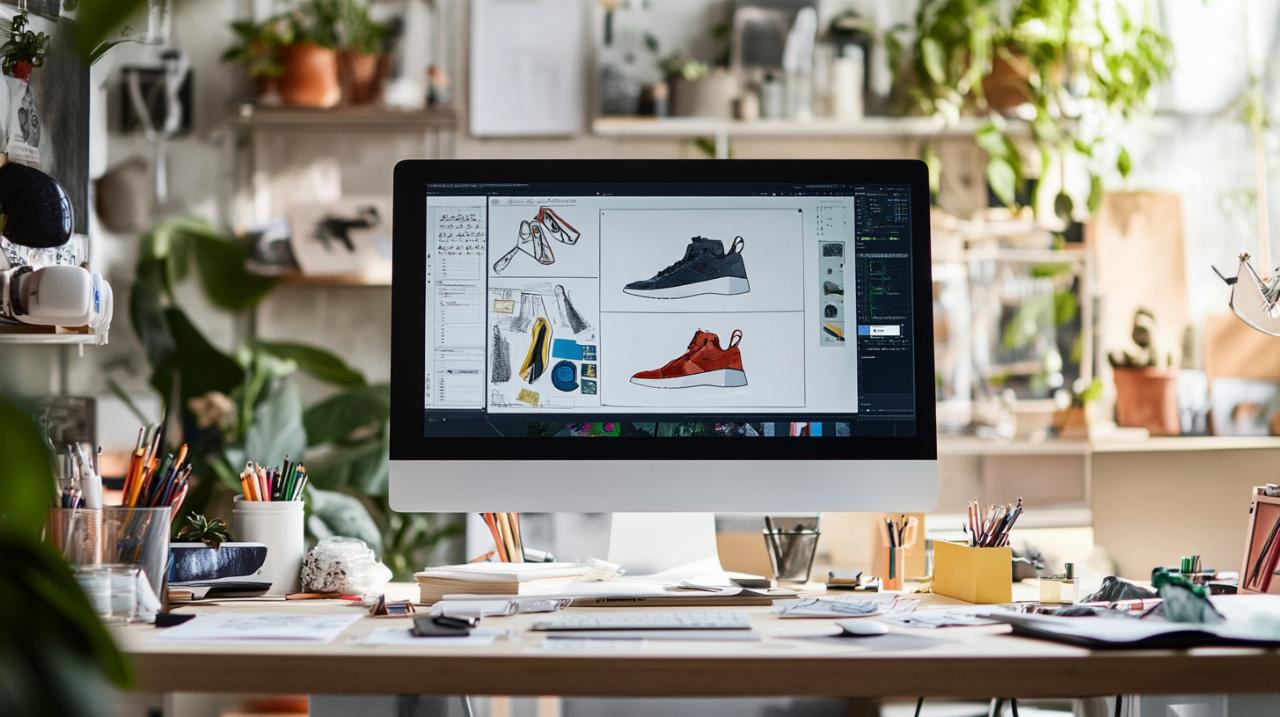
Choosing quality materials and creating your template
The longevity and appearance of your custom shoes depend heavily on the quality of materials you select. For the uppers, leather, canvas, and synthetic fabrics are all viable options, each offering distinct advantages. Leather provides a classic, durable finish but requires specific paints and sealants. Canvas is more forgiving for beginners and readily absorbs fabric paints. Synthetic materials can be trickier but open up possibilities for unique textures and finishes. When it comes to soles, rubber remains the most popular choice due to its grip and resilience, though EVA foam offers a lightweight alternative for comfort-focused designs.
Beyond the primary materials, you’ll need a range of tools and supplies. Essential items include fabric or leather acrylic paints, acetone for cleaning, fine-grit sandpaper, protective tape, and sealant. A leather deglazer and preparer is crucial if you’re working with leather trainers, as it removes the factory finish and allows paint to adhere properly. Clean the trainers thoroughly to remove dirt and oils that can stop the paint from sticking. This step cannot be overlooked; even the highest quality paint will peel or crack if applied to a contaminated surface. Once cleaned, lightly sand the areas you plan to paint. This creates a slightly rough texture that helps the paint bond more effectively.
Creating a template is particularly important if you’re working with complex patterns or multiple shoe pairs. Use your measurements to draw the pieces of the shoe, ensuring symmetry and proportion. If you’re replicating a design across both shoes, a template guarantees consistency. Some customisers prefer to freehand their designs, which can yield wonderfully organic results, but templates provide a safety net for those less confident in their drawing skills. Label your pattern pieces clearly, especially if you’re planning to reuse them for future projects or share them with fellow enthusiasts.
Working with Manufacturers and Managing Production Timelines
For those who prefer to outsource the technical execution, working with professional customisers or manufacturers is an excellent option. Companies specialising in bespoke footwear, such as those based in Manchester studios or international factories, offer services ranging from simple colourway changes to elaborate cut-and-sew projects. These professionals possess the expertise and equipment to bring even the most ambitious designs to fruition. When selecting a service provider, research their portfolio, read customer reviews, and inquire about their processes. Many offer mock-ups for a deposit, allowing you to visualise the final product before committing to full production.
Communication is key when collaborating with manufacturers. Be as specific as possible about your requirements: provide detailed sketches, specify exact colours using reference codes if available, and discuss any special techniques or materials you want incorporated. Rush order services are often available for an additional fee, guaranteeing your shoes are made and shipped within a tight timeframe, typically around seven working days. However, standard production timelines can range from several weeks to a few months, depending on complexity and demand. Patience is essential in this stage; custom stuff takes time, doesn’t it? But once they’re done, you’ll have a pair of trainers that are absolutely one-of-a-kind.
If you’ve opted to paint your own trainers, the application process requires a steady hand and attention to detail. Apply a base coat of paint evenly and let it dry completely before adding more colours or designs. When painting shoes, it’s recommended to apply two to three thin coats of paint, drying for thirty seconds to one minute between each coat. Thin layers prevent cracking and ensure a smooth, professional finish. Once your design is complete, patience is again required. After customisation, waiting twenty-four hours is recommended before applying a finisher. This curing period allows the paint to fully bond with the material. Finally, apply three coats of top coat or finisher to seal the paint on shoes, protecting your artwork from scuffs, moisture, and general wear.
Maintaining your custom trainers ensures they remain in pristine condition for years to come. Clean custom shoes gently with a damp cloth and mild soap, and let them air dry. Avoid machine washing, as the agitation and heat can damage both the paint and the shoe structure. Protect your design by avoiding extreme weather, drying wet shoes with a soft cloth without using direct heat, and storing them out of direct sunlight. If you’ve invested in eco-friendly materials or specialised finishes, follow any care instructions provided by the manufacturer or paint supplier. With proper care, your bespoke footwear will continue to turn heads and spark conversations, a testament to your creativity and dedication.